The Egnyte for SharePoint Online integration allows you to embed your Egnyte file server within the SharePoint site to utilize all the features Egnyte has to offer. The directly embedded Egnyte interface ensures that your SharePoint documentation always reflects the most updated information without having to constantly replace and re-upload the file to SharePoint.
As per Microsoft’s announcement, the legacy Egnyte for SharePoint Online (v1) integration has been end of life as of April 2, 2026. Egnyte is now offering an upgraded Egnyte for SharePoint Online integration (v2) to its users offering real-time sync, enhanced performance, full Egnyte Web UI access, and granular control.
For more information please take a look at our Democast!
Skip Ahead to...
Features
System Requirements
Installation
Configure a Custom Starting Folder
Known Limitations
Features
- Utilize a full-screen view of the Egnyte Web UI by clicking on the Egnyte App in Site Contents.
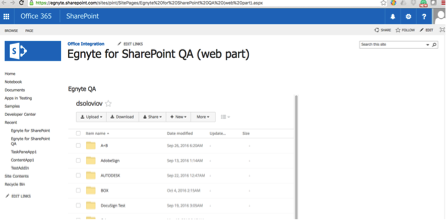
- Embed the Egnyte Web UI as a Web Part on a SharePoint Site Page.
- Perform any Web UI action, including editing files in Office Online.
- Keep information up-to-date by embedding the Egnyte folder structure in SharePoint.
- Retain Egnyte permissions for your users and groups on the folder structure embedded within the SharePoint site.
- All files are easy to manage and remain within Egnyte.
- Use Egnyte reports to understand which files are being accessed by users.
- Ability to add a customized folder location at a Site Level so that users can directly navigate to their preferred folder.
System Requirements
- Admin permission enabled for SharePoint
- Office 365 for Business subscription
Installation
Classic UI
- Download the Egnyte for SharePoint App.
- Log in to your Microsoft Office Online Account.
- Use the app catalog to make custom business apps available for your SharePoint Online environment.
- Add and deploy the Egnyte for SharePoint App (as a custom app).
- Create a new Sharepoint site. If the site is already created, ensure that the currently signed-in user is an admin, owner, and member.
- Click on the Setting icon at the top bar (it may appear 30 seconds after the site is loaded).
- Choose the option Add an app.
- Choose Egnyte for SharePoint from the list, Click Add, and then click on Trust It.
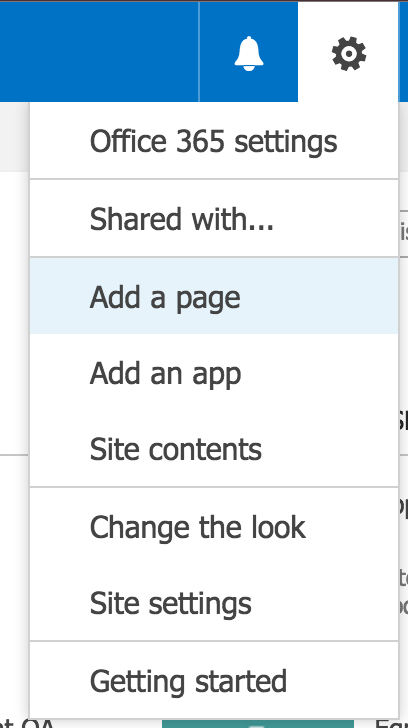
- Click the gear icon in the upper-right corner and select Add a page.
- Click Edit and switch to the Insert tab.
Click on Web Part.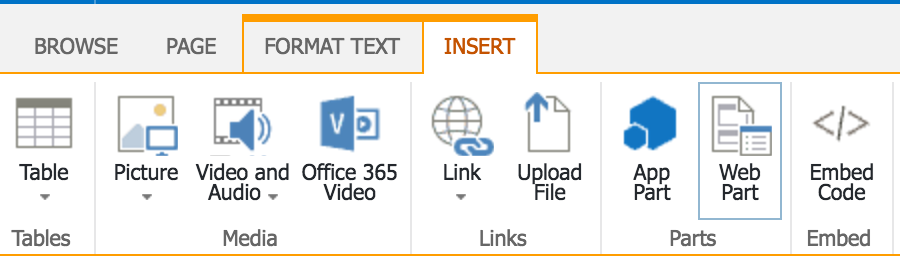
- Select Egnyte under Parts. Click the Add button.
- Connect your Egnyte account by following the prompts and entering your Egnyte credentials.
-
Optional step:
Use SharePoint settings to customize the Web Part's size and layout.
Modern UI
- Download the Egnyte for SharePoint App.
- Log in to your Microsoft Office Online Account.
- Use the app catalog to make custom business apps available for your SharePoint Online environment.
- Add and deploy the Egnyte for SharePoint App (as a custom app).
- Create a new SharePoint site. If the site is already created, ensure that the currently signed-in user is an admin, owner, and member.
- Click on the Setting icon at the top bar (it may appear 30 seconds after the site is loaded).
- Choose the option Add an app.
- Choose Egnyte for SharePoint from the list, Click Add, and click on Trust It.
- Click on the gear icon in the upper-right corner and select Add a page or click on the +New button under the space name on the home screen and choose Page.
- The user can now set up a new page (there might appear a pop-up wizard to help with page build).
- The newly created page will be in edit mode by default.
Alternatively, the user can edit the existing page by clicking on the Edit button.
- Add a new web part by clicking on the + button on the newly created page.
- Search for Egnyte
NOTE: In some cases Egnyte may not appear on the list, and an app with the name %TITLE% might appear instead. This indicates that the app has been installed but has not been fully propagated in Sharepoint. It typically takes a few hours to update. Once done, the app name will appear as ‘Egnyte’.
- Connect the Egnyte account by following the prompts and entering the Egnyte credentials.
-
Optional step:
Use SharePoint settings to customize the Web Part's size and layout.
Configure a Custom Starting Folder
- Open a site page with the Egnyte web part in it.
- Click Edit in the top right corner.
- Click Edit Web Part under the drop-down in the top right corner of the web part.
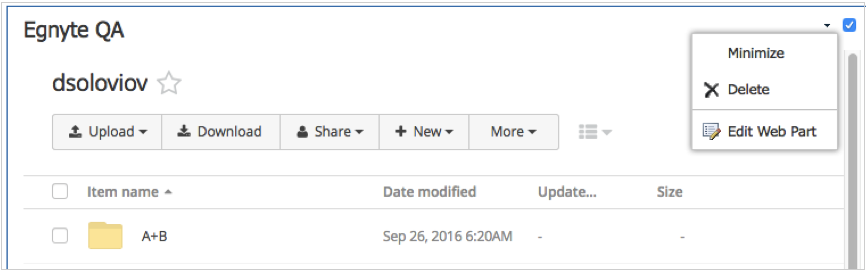
- Expand Egnyte options and set the Default directory path to the desired Egnyte folder path. Click Apply.
- Click Save in the top right corner.
Known Limitations
MS Sharepoint data sent via POST message is not correctly encoded. Any non-supported characters entered in the target path input will be ignored or wrongly interpreted (especially “&” sign). Following can be used to handle the code with a new version of Egnyte API for embedded view; however, the users will have to encode special characters before.
- @ - %40
- # - %23
- $ - %24
- % - %25
- ^ - %5E
- & - %26
- + - %2B
For example, path "Shared/jwicher/Tom&Ben" should be used as "Shared/jwicher/Tom%26Ben".